
How to Turn On Sprinkler System: A Step-by-Step Guide
How to Turn On Sprinkler System?
Maintaining a vibrant and healthy lawn involves proper irrigation, and knowing how to turn on your sprinkler system is a crucial step. Start by ensuring the main water supply to your sprinkler system is open. For most systems, this involves turning a valve located near your water meter or in your home’s basement.
Next, consider your control panel settings. This is where you can determine when and how long your sprinklers will run. Ensuring these settings are correct will help you avoid overwatering or underwatering your lawn.
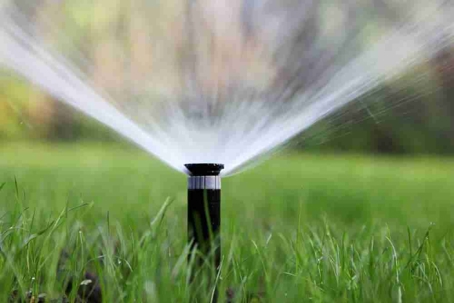
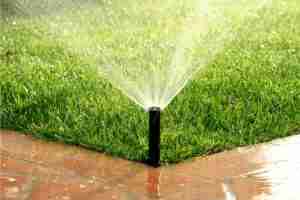
Lastly, it’s important to check each sprinkler head. Make sure they are not obstructed and are spraying water evenly across your lawn. This simple check can save water and ensure that your lawn stays lush and green.
Preparing to Turn on Your Sprinkler System
Successful preparation involves both inspecting system components and checking the weather forecast. Proper steps ensure efficient operation and can prevent damage.
Inspecting the System Components
Begin by locating the main shutoff valve for your sprinkler system. Ensure all valves and connections are secure and free from leaks.
Inspect sprinkler heads for damage or debris. Replace any broken heads and clear any obstructions to ensure proper water flow.
Check the controller to confirm it is functioning and has the correct settings. Replace any worn or damaged wires and test the electrical connections.
Finally, examine the backflow preventer to ensure it’s functioning properly. This device is crucial to prevent contamination of the home’s water supply.
Checking the Weather Forecast
Reviewing the weather forecast is essential before activating your sprinkler system. Avoid turning on the system if heavy rain is expected within the next few days.
Ensure temperatures are consistently above freezing to prevent pipe damage.
Regularly monitor the forecast to adjust watering schedules as needed. Using weather-based irrigation controllers or smart controllers can help automate this process.
Note: Environmental conditions greatly affect water usage efficiency, so staying informed ensures the system operates optimally.
Activating the Water Supply
Properly activating the water supply to your sprinkler system is crucial. Start by opening the main valve slowly and ensure that the valve and backflow preventer are in good working condition.
Opening the Main Valve Slowly
Begin by locating the main water supply valve for your sprinkler system. This valve is often near your main water meter or at the point where your sprinkler system connects to the main water line.
Turn the valve slowly to avoid damaging the pipes or causing a water hammer, which can lead to sudden pressure surges. Opening the valve too quickly might stress the system, causing potential leaks or bursts.
It’s advisable to listen for any unusual sounds. A steady, quiet flow indicates the water is moving through the pipes correctly. If you hear banging or knocking, stop and check for issues before proceeding.
Ensuring Valve and Backflow Preventer Integrity
After opening the main valve, inspect the valve and backflow preventer for any signs of damage or leaks. The backflow preventer is crucial as it prevents water from flowing back into your drinking water supply, protecting it from contamination.
Examine the valve seals and connections to make sure they are tightly fitted and free from cracks or wear. Feel for any moisture around the components, which can indicate a leak.
Test the backflow preventer to ensure it’s functioning properly. This might involve observing a pressure gauge or testing a relief valve. If there are any problems, repair or replace the faulty components immediately to maintain system integrity.
Setting Up the Control Panel
To ensure your sprinkler system runs effectively, you need to correctly set up the control panel. This involves programming the watering schedule and adjusting the settings for different zones.
Programming the Watering Schedule
Begin by accessing the control panel’s menu. Navigate to the section for setting a schedule. Select the days you want the sprinklers to operate by using the arrow keys or touch screen.
Set the start time for watering by entering the hour and minute. Choose multiple start times if your system supports it. Most units allow programming up to four start times.
Finally, specify the duration for each watering session. Enter the number of minutes for each start time. Ensure that the total watering time matches the needs of your lawn and plants.
Adjusting Settings for Different Zones
First, identify the different zones in your yard, such as the front lawn, backyard, and flower beds. Each zone might have unique watering needs, so customize settings accordingly.
Access the zone settings in the control panel. Select the zone you want to adjust and set the run time. For instance, a flower bed may require less water than a lawn area.
Modify the frequency of watering for each zone. Dry areas may need daily watering, while shaded regions might only need it every few days. Confirm all settings to ensure efficient water use.
Testing and Troubleshooting
Before you start using your sprinkler system regularly, it’s essential to run a manual test cycle and address any potential issues. This ensures your lawn gets the right amount of water and that the system operates efficiently.
Running a Manual Test Cycle
Start by setting your sprinkler system to manual mode using the controller. This allows you to test each zone individually.
Observe the sprinklers in each zone to ensure they pop up properly and distribute water evenly. Check for clogged nozzles or uneven spray patterns.
Document any irregularities, such as low water pressure or non-functioning heads. This helps in identifying areas that need adjustments or repairs.
Identifying and Fixing Common Issues
Low water pressure can indicate leaks or blocked pipes. Inspect the system for visible signs of leakage. Clean or replace any clogged nozzles.
If some heads don’t pop up, clean around the base to remove any dirt or debris. Adjust or replace malfunctioning sprinkler heads as needed.
For electrical issues, check the wiring connections at the controller and the solenoid. Replace damaged wires or faulty solenoids to restore proper function. Contact us at J. Bell Services to learn more about the operation of your sprinkler system.